-
Enterprise Architect Server Installation카테고리 없음 2020. 3. 2. 08:04
StepDescription4.1The Pro Cloud Server installer is a standard MSI; double-click on it to start the installation.Note: Depending on a number of factors, you might be prompted for the credentials of a user with elevated permissions; these must be entered before the installation will continue.4.2The 'Sparx Systems Pro Cloud Services Setup' dialog displays. Click on the Next button.4.3Read the license agreement and select the checkbox for indicating that you accept the terms. Click on the Next button.4.4Read the information about the Pro Cloud Server. Click on the Next button.4.5The 'Custom Setup' page displays. Click on the Next button to accept the defaults.4.6Click on the Install button to run the installation.5.
Enterprise Architect Download


Enterprise Architect Server Installation 2017
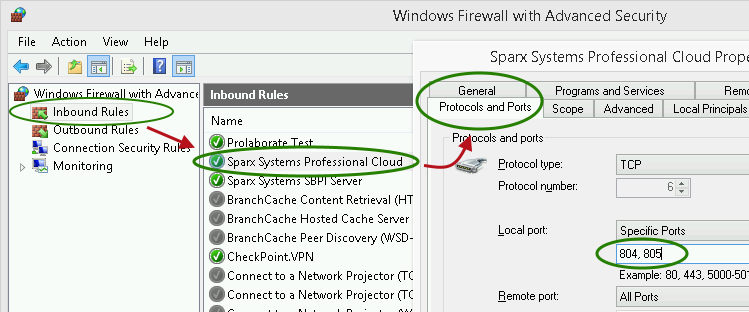
Configure the Pro Cloud ServerThe Pro Cloud Server will have installed all of its files to the 'C:Program Files (x86)Sparx SystemsCloud Services' folder and added a Shortcut to the desktop. StepDescription7.1Open the file 'C:inetpubwwwrootWebEAincludeswebeaconfig.ini' with a text editor.7.2In the 'modellist' section, remove the 'model4' and 'model5' lines. Edit the remaining model names to:model1 = 'Pro Cloud Model (no updates)'model2 = 'Pro Cloud Model with discussions'model3 = 'Pro Cloud Model with access code'7.3In the 'model1: settings' section change the SSCSDBALIAS option to 'fb-procloud'. The remaining default options should remain unchanged.7.4In the 'model2: settings' section change the SSCSDBALIAS option to 'fb-procloud'. The remaining default options should remain unchanged.7.5Delete the 'model3: settings' and 'model5: settings' sections, rename the 'model4: settings section header to model3: settings', then set these options as shown:sscsdbalias = 'fb-procloud'sscsport = '804'sscsusessl = 'false'sscsmodeluser = 'sscmodelpwd = 'authcode = 'password01'.loginprompt = 'false'7.6Save the changes to the file webeaconfig.ini in C:inetpubwwwrootWebEAincludes.8. Configure your firewall(s) to allow client access.